Making a Fake Wound for Halloween

With Halloween just around the corner, it's time to start planning your costume. One popular option is to create a horrifying look with a fake wound. Whether you want to be a zombie, a monster, or just add some extra gore to your costume, making a fake wound can be fun and easy. In this blog post, we'll show you step-by-step how to create a realistic and convincing fake wound for Halloween.
Materials You Will Need:
- Gelatin
- Glycerin
- Corn syrup
- Cocoa powder
- Red food coloring
- Tissue paper or cotton balls
- A plastic knife or popsicle stick
- Makeup brushes or sponges
- Stage blood or fake blood gel
Step 1: Prepare the Gelatin Mixture
To create the base of your fake wound, you will need to prepare the gelatin mixture. Start by mixing one tablespoon of gelatin powder with three tablespoons of water in a microwave-safe bowl. Stir well until the gelatin dissolves completely.
Step 2: Add Color and Texture
Add one teaspoon of glycerin, one teaspoon of corn syrup, and a few drops of red food coloring to the gelatin mixture. Stir until everything is well combined. If you want a darker color, you can also add some cocoa powder. This will help create a more realistic look.
Step 3: Apply the Base Layer
Using a makeup brush or sponge, apply a thin layer of the gelatin mixture to your desired area. This will serve as the base for your fake wound. You can shape it however you like – from small scratches to large gashes.

Step 4: Create Depth and Texture
To make your fake wound look more realistic, tear up some tissue paper or cotton balls into small pieces. Press them gently into the wet gelatin mixture to create texture and depth. You can also use a plastic knife or popsicle stick to make lines or indentations in the gelatin.

Step 5: Let It Dry
Allow the gelatin mixture to dry completely before moving on to the next step. This usually takes around 15-20 minutes, but it may vary depending on the thickness of your application.
Step 6: Paint Your Wound
Once your fake wound is dry, it's time to add some color and realism. Use makeup brushes or sponges to apply different shades of red, brown, purple, and black around the edges of the wound. This will give it a bruised and bloody appearance.

Step 7: Add Blood
To make your fake wound look even more gruesome, apply stage blood or fake blood gel to the center of the wound. You can let it drip down or pool around the edges for a more dramatic effect.

Step 8: Final Touches
Once you're satisfied with the overall look of your fake wound, you can add some final touches to make it even more realistic. Use makeup brushes or sponges to add dirt, grime, or smudges around the wound. You can also use a matte setting powder to reduce shine and give it a more natural appearance.
Step 9: Secure and Blend
If you plan on moving around a lot during Halloween festivities, you may want to secure your fake wound with some adhesive or spirit gum. This will ensure that it stays in place throughout the night. Additionally, use makeup brushes or sponges to blend the edges of the gelatin mixture with your skin for a seamless finish.

Step 10: Show off Your Fake Wound!
Now that your fake wound is complete, it's time to show off your creativity! Pair it with an appropriate costume and makeup for maximum impact. Whether you're attending a Halloween party or going trick-or-treating, your realistic fake wound is sure to impress everyone who sees it!
In Conclusion
Making a fake wound for Halloween can be a fun and rewarding DIY project. By following these step-by-step instructions, you'll be able to create a realistic and convincing fake wound that will take your Halloween costume to the next level. Remember to have fun with it and let your creativity shine!
Featured collection


Original price
$27.95
-
Original price
$27.95
Original price
$27.95
$27.95
-
$27.95
Current price
$27.95
Sexy Post Office Girl | Costume-Shop.com
In stock
Attention all aspiring letter carriers and mail enthusiasts! Prepare to deliver a package of seductive style and naughty charm with our Sexy Post O...
View full details
Original price
$27.95
-
Original price
$27.95
Original price
$27.95
$27.95
-
$27.95
Current price
$27.95


Original price
$110.95
-
Original price
$110.95
Original price
$110.95
$110.95
-
$110.95
Current price
$110.95
Northern Warrior Costume | Costume-Shop.com
Low stock
Upgrade your costume game to legendary status with the Northern Warrior Costume! Designed for rugged adventurers and fearless warriors of the North...
View full details
Original price
$110.95
-
Original price
$110.95
Original price
$110.95
$110.95
-
$110.95
Current price
$110.95
Original price
$66.95
-
Original price
$66.95
Original price
$66.95
$66.95
-
$66.95
Current price
$66.95
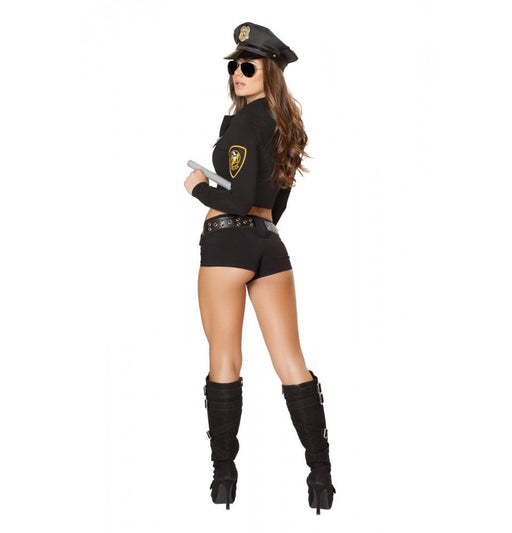
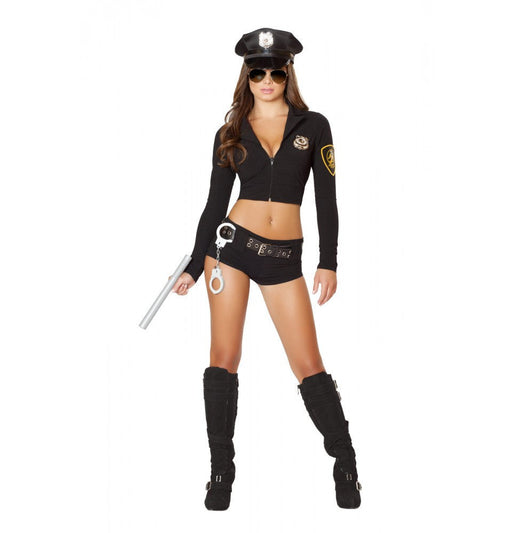
Sexy Police Officer Hottie | Costume-Shop.com
Low stock
🚓 Enforce Fun with a Dash of Flair! Step into the role of authority with the Sexy Police Officer Hottie Costume from www.Costume-shop.com. Designed...
View full details
Original price
$66.95
-
Original price
$66.95
Original price
$66.95
$66.95
-
$66.95
Current price
$66.95


Original price
$97.95
-
Original price
$97.95
Original price
$97.95
$97.95
-
$97.95
Current price
$97.95
Sexy Miss Claus Costume | Costume-Shop.com
Low stock
C170Sexy Miss Claus Costume Includes:Long Robe with Fur Trim Detail, Detachable Belt, & Shorts Material:Stretch Velvet Ships From:Los Angeles S...
View full details
Original price
$97.95
-
Original price
$97.95
Original price
$97.95
$97.95
-
$97.95
Current price
$97.95
Original price
$73.95
-
Original price
$73.95
Original price
$73.95
$73.95
-
$73.95
Current price
$73.95
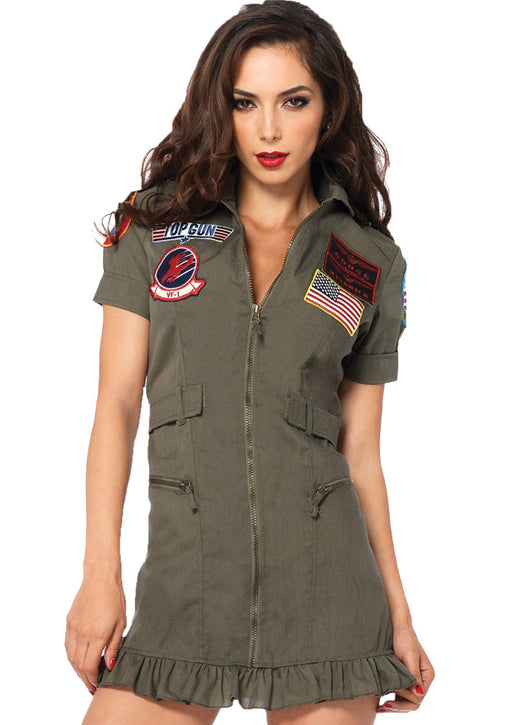
Top Gun Flight Dress | Costume-shop.com
In stock
✈️ Feel the Need for Speed! Elevate your costume game at your next party, Halloween event, or any gathering calling for a bit of high-flying action...
View full details
Original price
$73.95
-
Original price
$73.95
Original price
$73.95
$73.95
-
$73.95
Current price
$73.95
Leave a comment