How to Do Day of the Dead Makeup

The Day of the Dead, or Día de los Muertos, is a traditional Mexican holiday celebrated to honor and remember deceased loved ones. It is a vibrant and festive occasion filled with colorful decorations, music, food, and elaborate makeup. The iconic Day of the Dead makeup is an essential part of this celebration and allows people to pay tribute to their ancestors while embracing their own creativity.
If you're interested in learning how to do Day of the Dead makeup, you're in the right place. In this guide, we'll walk you through the steps to create your own stunning and unique Day of the Dead look.
Step 1: Start with a Clean Canvas
Before diving into the makeup application, it's important to start with a clean face. Remove any makeup or oil from your skin using a gentle cleanser. This will ensure that the makeup adheres properly and lasts longer throughout the day.
Step 2: Apply a White Base
The Day of the Dead makeup typically features a white base to represent skulls. Use a white face paint or foundation to cover your entire face, focusing on creating an even and smooth surface. You can use a sponge or brush for better precision and coverage.

Step 3: Define the Eye Sockets
To create the skull-like appearance, it's important to define the eye sockets using black eyeliner or face paint. Start by drawing two large circles around your eyes, following the natural shape of your bone structure. Fill in these circles with black color, extending it slightly beyond your eyebrows for an exaggerated effect.

Step 4: Add Intricate Details
This is where you can let your creativity shine! Use colorful face paints or eyeshadows to add intricate details such as flowers, hearts, swirls, and spiderwebs to your design. You can also incorporate symbols like crosses or musical notes that hold personal significance.

Step 5: Outline the Nose and Teeth
Outline your nose with black eyeliner or face paint to give it a skeletal look. Draw a straight line from the bridge of your nose down to the tip, and then add vertical lines on either side to create the appearance of teeth. Fill in the area between these lines with black color.

Step 6: Enhance Your Look with Accessories
To take your Day of the Dead makeup to the next level, consider adding some accessories. You can use fake flowers, rhinestones, or glitter to embellish your design and make it more eye-catching. Experiment with different colors and textures to create a unique look that reflects your personality.

Step 7: Complete the Look with Lipstick
No Day of the Dead makeup is complete without vibrant lips! Choose a bold color like red or purple and apply it to your lips for a dramatic effect. This will add contrast to your overall look and tie everything together.

Step 8: Set Your Makeup
To ensure that your Day of the Dead makeup stays in place throughout the day, set it with a translucent powder or setting spray. This will help prevent smudging and keep your artwork intact.
Final Thoughts
Congratulations! You have successfully transformed yourself into a stunning Day of the Dead creation. Remember, there are no strict rules when it comes to this makeup, so feel free to experiment and add your own personal touches.
Whether you're attending a Day of the Dead celebration or simply embracing the spirit of the holiday, this makeup will undoubtedly make a statement. So go ahead and have fun with it!
Featured collection


Original price
$27.95
-
Original price
$27.95
Original price
$27.95
$27.95
-
$27.95
Current price
$27.95
Sexy Post Office Girl | Costume-Shop.com
In stock
Attention all aspiring letter carriers and mail enthusiasts! Prepare to deliver a package of seductive style and naughty charm with our Sexy Post O...
View full details
Original price
$27.95
-
Original price
$27.95
Original price
$27.95
$27.95
-
$27.95
Current price
$27.95


Original price
$110.95
-
Original price
$110.95
Original price
$110.95
$110.95
-
$110.95
Current price
$110.95
Northern Warrior Costume | Costume-Shop.com
Low stock
Upgrade your costume game to legendary status with the Northern Warrior Costume! Designed for rugged adventurers and fearless warriors of the North...
View full details
Original price
$110.95
-
Original price
$110.95
Original price
$110.95
$110.95
-
$110.95
Current price
$110.95
Original price
$66.95
-
Original price
$66.95
Original price
$66.95
$66.95
-
$66.95
Current price
$66.95
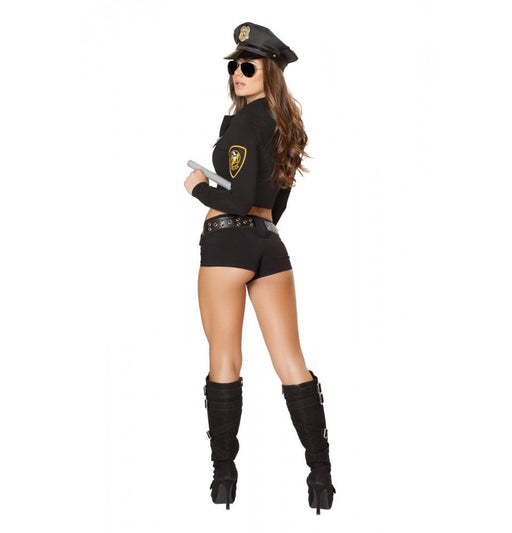
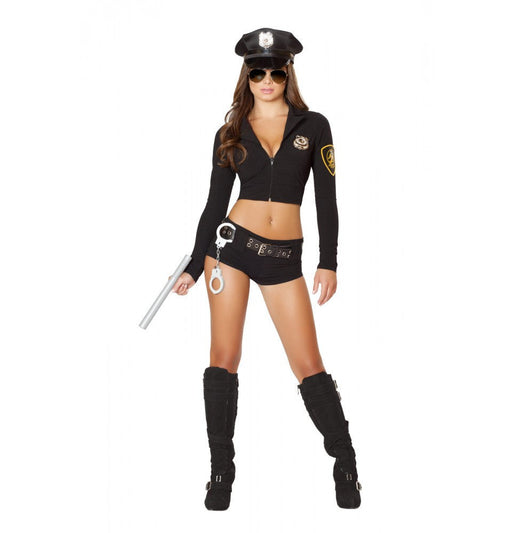
Sexy Police Officer Hottie | Costume-Shop.com
Low stock
🚓 Enforce Fun with a Dash of Flair! Step into the role of authority with the Sexy Police Officer Hottie Costume from www.Costume-shop.com. Designed...
View full details
Original price
$66.95
-
Original price
$66.95
Original price
$66.95
$66.95
-
$66.95
Current price
$66.95


Original price
$97.95
-
Original price
$97.95
Original price
$97.95
$97.95
-
$97.95
Current price
$97.95
Sexy Miss Claus Costume | Costume-Shop.com
Low stock
C170Sexy Miss Claus Costume Includes:Long Robe with Fur Trim Detail, Detachable Belt, & Shorts Material:Stretch Velvet Ships From:Los Angeles S...
View full details
Original price
$97.95
-
Original price
$97.95
Original price
$97.95
$97.95
-
$97.95
Current price
$97.95
Original price
$73.95
-
Original price
$73.95
Original price
$73.95
$73.95
-
$73.95
Current price
$73.95
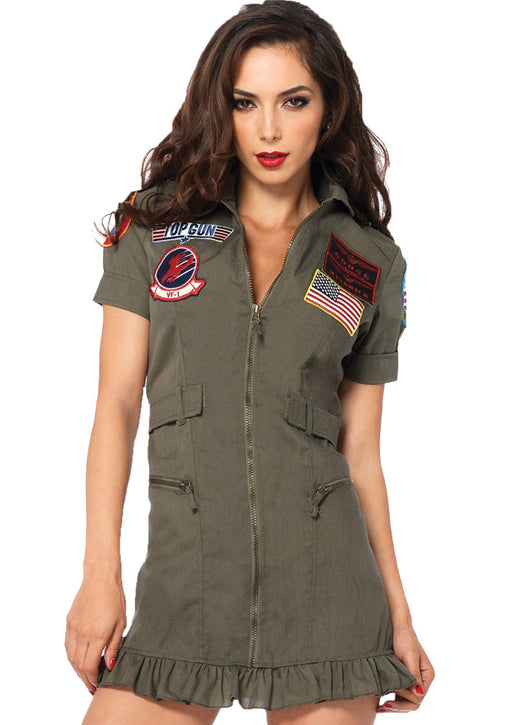
Top Gun Flight Dress | Costume-shop.com
In stock
✈️ Feel the Need for Speed! Elevate your costume game at your next party, Halloween event, or any gathering calling for a bit of high-flying action...
View full details
Original price
$73.95
-
Original price
$73.95
Original price
$73.95
$73.95
-
$73.95
Current price
$73.95
Leave a comment