How to Create Fake Scars for Halloween
How to Create Fake Scars for Halloween
October is here, and Halloween is just around the corner! It's time to start planning your costume and getting into the spooky spirit. If you want to take your Halloween look to the next level, why not try creating fake scars? Whether you're dressing up as a zombie, a mummy, or a horror movie character, fake scars can add an extra touch of realism to your costume. In this article, we'll explore some easy and creative ways to make fake scars for Halloween.
1. Liquid Latex Method
Liquid latex is a versatile and widely used material in special effects makeup. It's easy to work with and provides realistic results when creating scars. To make fake scars using liquid latex, follow these steps:
Step 1: Clean and Prep Your Skin
Clean the area where you want to apply the scar using soap and water. Make sure it's free from oils or lotions that could interfere with the adherence of the liquid latex.
Step 2: Apply Petroleum Jelly
To prevent the liquid latex from sticking directly to your skin, apply a thin layer of petroleum jelly around the scar area.
Step 3: Build Up the Scar
Using a small brush or sponge, apply a thin layer of liquid latex to the desired area. Create the shape of your scar by building up layers of liquid latex and letting each layer dry before adding the next. You can use reference images or get creative with your design.
Step 4: Texture the Scar
To give your scar a realistic texture, you can use various tools like toothpicks, tweezers, or even your fingers to create indentations and raised areas. Stretch and manipulate the latex while it's still wet to achieve the desired effect.
Step 5: Color and Blend
Once the scar is dry, use makeup products like foundation, concealer, and face paints to color the scar and blend it into your skin tone. Add fake blood for an extra gruesome touch.
2. Scar Wax Method
If you're looking for an alternative to liquid latex or want to experiment with different textures, scar wax is a great option. Here's how you can create fake scars using scar wax:
Step 1: Clean and Prep Your Skin
Just like with the liquid latex method, start by cleaning and prepping your skin to ensure good adherence.
Step 2: Soften and Shape the Wax
Rub a small amount of scar wax between your palms until it becomes pliable. Then, shape the wax into the desired scar form using your fingers or a sculpting tool.
Step 3: Adhere the Wax
Apply a thin layer of adhesive (such as spirit gum) to the area where you want to place the scar. Gently press the scar wax onto the adhesive and blend the edges with your fingers or a makeup sponge for a seamless look.
Step 4: Texture and Blend
To add texture and realism to your scar, use a spatula or toothpick to create lines, indentations, or rough edges. Blend the edges of the scar wax into your skin using makeup products like foundation and concealer.
3. Silicone Method
If you're looking for professional-grade results, silicone-based prosthetics are an excellent choice. While they require more specialized materials, they offer incredibly realistic scars. Here's how you can create fake scars using silicone:
Step 1: Clean and Prep Your Skin
As always, start by cleaning and prepping your skin to ensure good adherence.
Step 2: Mix and Apply Silicone
Follow the instructions on your silicone kit to mix and prepare the material. Once ready, apply it directly onto your skin in layers, shaping it into the desired scar form as you go. Allow each layer to dry before adding another.
Step 3: Texture and Paint
Using various tools, create texture and details on the silicone while it's still wet. You can use sculpting tools, toothpicks, or even the edge of a credit card to achieve different effects. Once dry, paint the silicone scar using specialized makeup products like alcohol-activated paints or silicone-based pigments.
4. Special Effects Scar Makeup
If you're short on time or prefer a more user-friendly option, special effects scar makeup is your best bet. These pre-made scar pieces are easy to apply and offer realistic results without the need for advanced techniques. Here's how you can use special effects scar makeup:
Step 1: Clean and Prep Your Skin
Of course, start by cleaning and preparing your skin as usual.
Step 2: Apply Adhesive
Apply a thin layer of adhesive included with the special effects scar makeup onto your skin.
Step 3: Position and Blend
Gently press the pre-made scar piece onto the adhesive, making sure to smooth out any air bubbles. Use a brush or sponge to blend the edges of the scar into your skin for a seamless look.
Step 4: Color and Detail
Add color and detail to the scar using makeup products like foundation, concealer, and face paints. You can also add fake blood for an extra gruesome effect.
Tips for a Realistic Look
Regardless of the method you choose to create fake scars for Halloween, here are some tips to help you achieve a realistic look:
- Study reference images or watch tutorials to understand how real scars appear and behave.
- Experiment with different colors, shades, and textures to make your scar look as natural as possible.
- Consider adding bruising or discoloration around the scar for an even more realistic effect.
- Blend the edges of the scar with your skin using makeup products for a seamless transition.
- Add blood or other special effects makeup to enhance the scar's realism.
- Practice and test your technique before Halloween night to ensure you're happy with the results.
Remember, creating fake scars for Halloween is all about having fun and getting into character. Don't be afraid to get creative and experiment with different techniques. Whether you go for a subtle scar or a gruesome wound, these DIY methods will surely take your Halloween costume to the next level!
Featured collection


Original price
$27.95
-
Original price
$27.95
Original price
$27.95
$27.95
-
$27.95
Current price
$27.95
Sexy Post Office Girl Costume
In stock
81500Sexy Post Office Girl CostumeAttention all aspiring letter carriers and mail enthusiasts! Prepare to deliver a package of seductive style and ...
View full details
Original price
$27.95
-
Original price
$27.95
Original price
$27.95
$27.95
-
$27.95
Current price
$27.95
Original price
$34.95
-
Original price
$34.95
Original price
$34.95
$34.95
-
$34.95
Current price
$34.95
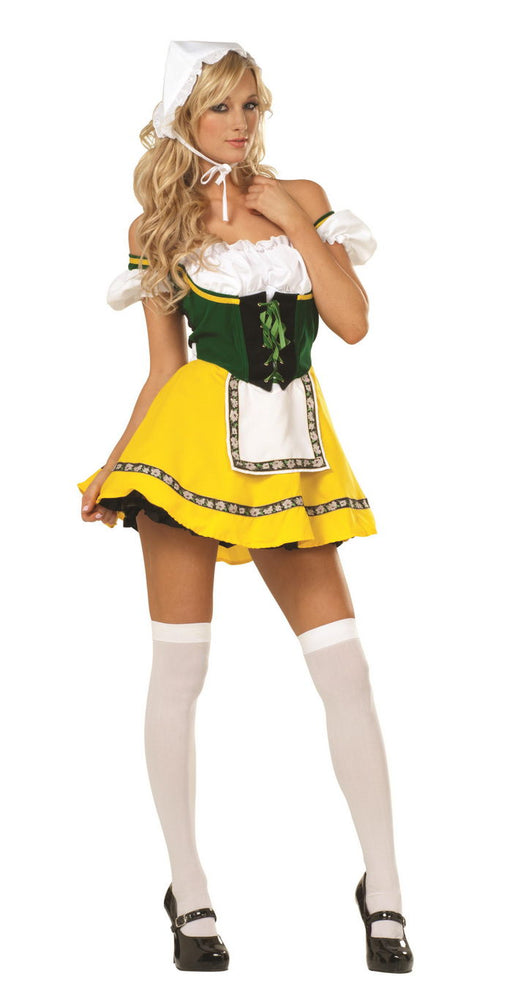
Beer Garden Babe Oktoberfest Costume - Celebrate with Style! 🍻🌼
Low stock
🇩🇪 Step into the Festivities with Bavarian Charm! Embrace the spirit of Oktoberfest in the Beer Garden Babe Costume from www.Costume-shop.com. Perf...
View full details
Original price
$34.95
-
Original price
$34.95
Original price
$34.95
$34.95
-
$34.95
Current price
$34.95
Original price
$31.95
-
Original price
$31.95
Original price
$31.95
$31.95
-
$31.95
Current price
$31.95
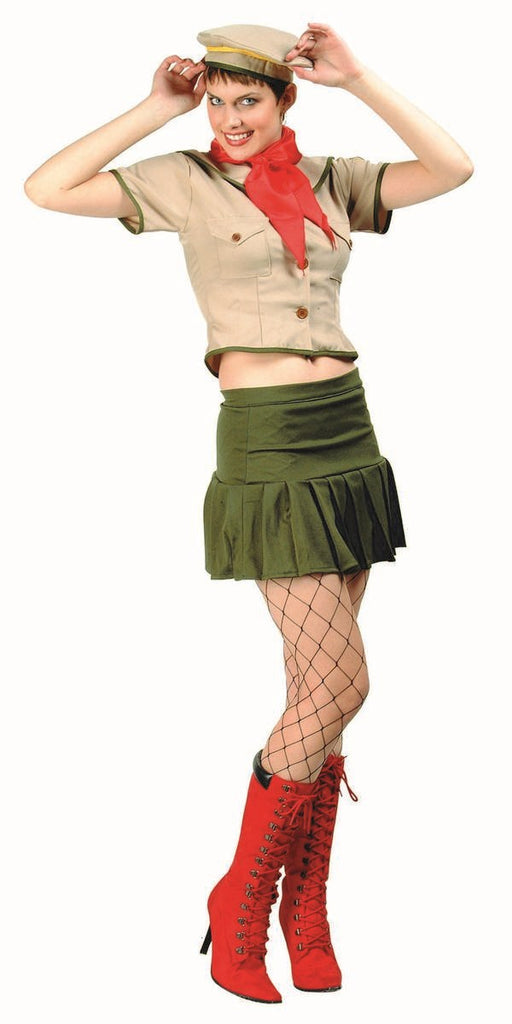
Sexy Girl Scout Costume
In stock
81514Sexy Girl Scout Costume Get ready to sell some irresistibly delicious cookies and turn heads with our Sexy Girl Scout Costume! This playful an...
View full details
Original price
$31.95
-
Original price
$31.95
Original price
$31.95
$31.95
-
$31.95
Current price
$31.95
Original price
$66.95
-
Original price
$66.95
Original price
$66.95
$66.95
-
$66.95
Current price
$66.95
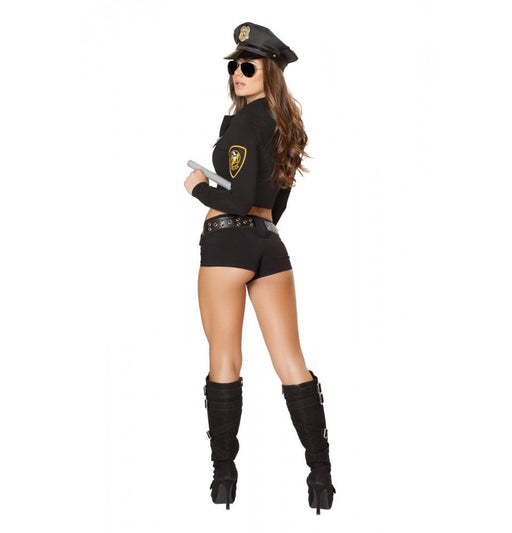
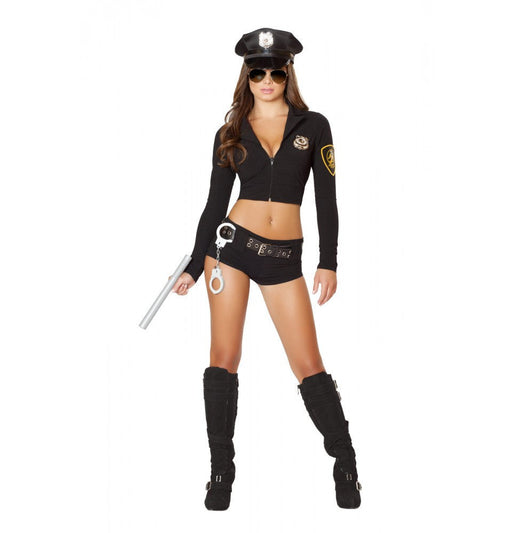
Sexy Police Officer Hottie Costume - Take Command of the Party! 👮✨
Low stock
🚓 Enforce Fun with a Dash of Flair! Step into the role of authority with the Sexy Police Officer Hottie Costume from www.Costume-shop.com. Designed...
View full details
Original price
$66.95
-
Original price
$66.95
Original price
$66.95
$66.95
-
$66.95
Current price
$66.95
Original price
$30.95
-
Original price
$30.95
Original price
$30.95
$30.95
-
$30.95
Current price
$30.95
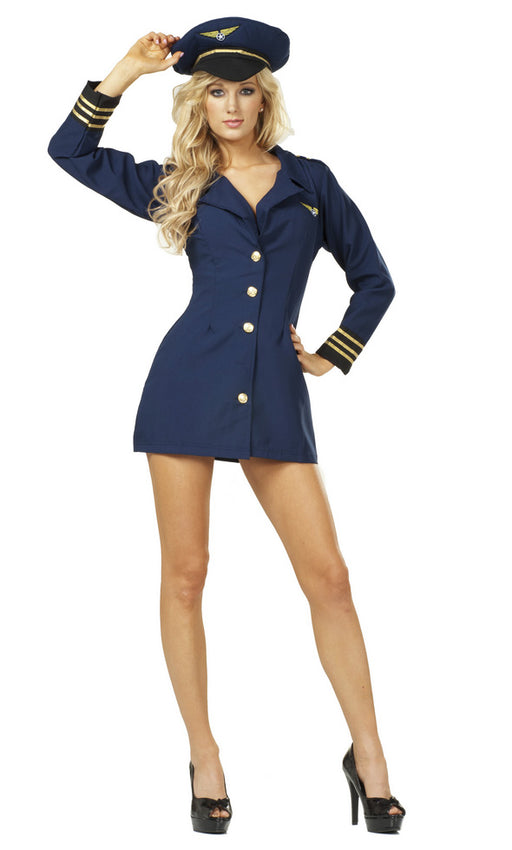
Flight Captain Pilot Costume - Command the Skies in Style! ✈️👩✈️
Low stock
🌐 Take Flight with Flair! Elevate your costume game with the Flight Captain Pilot Costume from www.Costume-shop.com. Perfect for themed parties, Ha...
View full details
Original price
$30.95
-
Original price
$30.95
Original price
$30.95
$30.95
-
$30.95
Current price
$30.95
Leave a comment