How to Create a Spooky Halloween Shirt: A Step-by-Step Guide
Halloween is just around the corner, and what better way to celebrate than by dressing up in a spooky costume? Whether you're attending a Halloween party or going trick-or-treating, having the perfect outfit can make all the difference. Instead of spending money on a store-bought costume, why not get creative and make your own? One simple yet effective idea is to create a dirty shirt that will give you that eerie Halloween vibe. In this blog post, we'll guide you through the process of dirtying up your shirt for Halloween.
Materials You'll Need:
- A plain white or light-colored shirt
- Acrylic paints in various dark colors (black, brown, gray)
- A paintbrush or sponge
- An old toothbrush
- A plastic tray or palette
- Newspaper or plastic sheets to protect your work surface
- A clothespin or hanger (optional)
Step 1: Prepare Your Work Area
Before you start, it's important to protect your work surface from paint spills and splatters. Lay down some newspaper or plastic sheets to create a designated area for your project.
Step 2: Choose Your Shirt
Select a plain white or light-colored shirt that you don't mind getting dirty. It could be an old shirt you no longer wear or a cheap one purchased specifically for this purpose.
Step 3: Mix Your Paints
Pour small amounts of black, brown, and gray acrylic paints onto a plastic tray or palette. Experiment with different ratios to achieve the desired shade of dirtiness. Remember, Halloween is all about being spooky, so don't hold back!
Step 4: Apply Base Coat
Dip your paintbrush or sponge into the black paint and lightly dab it onto the shirt. Start with small areas and gradually increase the coverage as you go. The goal is to create a base coat that will serve as the foundation for the dirt effect.
Step 5: Add Texture
To make your shirt look authentic, it's important to add texture. Dip an old toothbrush into the brown paint and run your thumb across the bristles, causing splatters to land on the shirt. This will mimic dirt stains and give your shirt a more realistic appearance.
Step 6: Introduce Grime
Now it's time to add some grime! Dip another toothbrush into the gray paint and repeat the splattering technique used in the previous step. Focus on areas where dirt would naturally accumulate, such as the collar, cuffs, and hem.
Step 7: Blend and Layer
To create depth and dimension, you can blend different shades of paint together. Use a clean paintbrush or sponge to gently blend the black, brown, and gray paints. Layering the colors will make your shirt appear even dirtier.
Step 8: Dry and Set
Allow your shirt to dry completely before wearing or handling it. To set the paint, follow the instructions provided by the manufacturer of the acrylic paint you used. Some paints may require heat-setting with an iron or a clothes dryer.
Step 9 (Optional): Distress Your Shirt
If you want to take your Halloween shirt to the next level, consider distressing it. You can achieve this by ripping holes in strategic places or using sandpaper to create a worn-out effect. Be careful not to overdo it – you still want your shirt to be wearable!
Step 10: Put on Your Spooky Creation!
Once your shirt is dry and ready, put it on and embrace your spooky creation! Pair it with some ripped jeans or tattered leggings for an even creepier look. Don't forget to complete your costume with some ghostly makeup or eerie accessories.
Tips:
- Avoid using too much water when diluting your paints as it can affect the texture of the fabric.
- If desired, add additional details like handprints or bloodstains using red paint.
- Experiment with different techniques such as dabbing, splattering, or dragging the paintbrush to create unique dirt effects.
- Wash your shirt separately from other clothes to prevent any remaining paint from transferring.
By following these steps, you'll be able to create a spooky Halloween shirt that will make heads turn. Not only is it a fun and budget-friendly project, but it also allows you to showcase your creativity and individuality. So why settle for a store-bought costume when you can stand out with your own handmade masterpiece? Get ready to embrace the spookiness of Halloween and rock your dirty shirt like never before!
Featured collection


Original price
$27.95
-
Original price
$27.95
Original price
$27.95
$27.95
-
$27.95
Current price
$27.95
Sexy Post Office Girl | Costume-Shop.com
In stock
Attention all aspiring letter carriers and mail enthusiasts! Prepare to deliver a package of seductive style and naughty charm with our Sexy Post O...
View full details
Original price
$27.95
-
Original price
$27.95
Original price
$27.95
$27.95
-
$27.95
Current price
$27.95


Original price
$110.95
-
Original price
$110.95
Original price
$110.95
$110.95
-
$110.95
Current price
$110.95
Northern Warrior Costume | Costume-Shop.com
Low stock
Upgrade your costume game to legendary status with the Northern Warrior Costume! Designed for rugged adventurers and fearless warriors of the North...
View full details
Original price
$110.95
-
Original price
$110.95
Original price
$110.95
$110.95
-
$110.95
Current price
$110.95
Original price
$66.95
-
Original price
$66.95
Original price
$66.95
$66.95
-
$66.95
Current price
$66.95
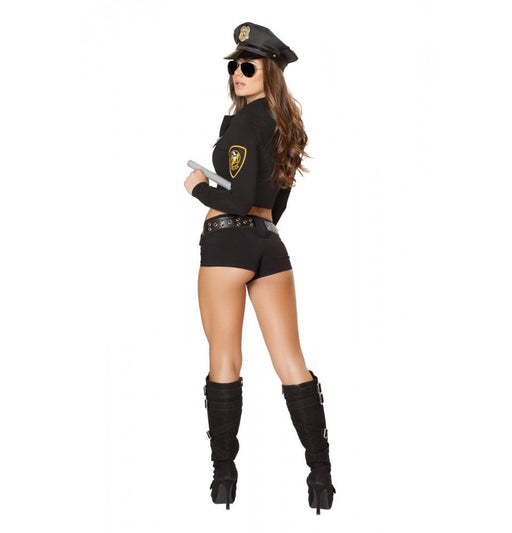
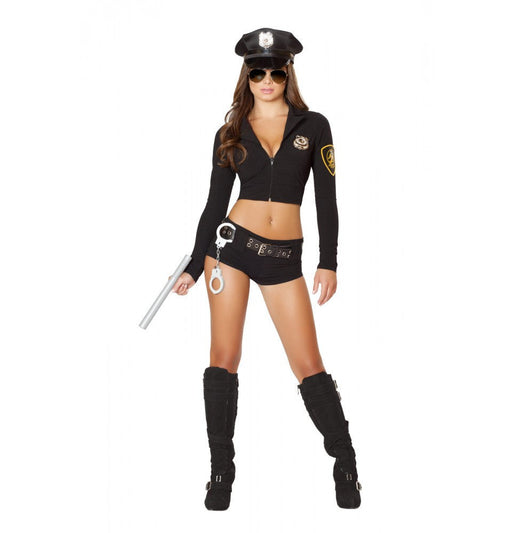
Sexy Police Officer Hottie | Costume-Shop.com
Low stock
🚓 Enforce Fun with a Dash of Flair! Step into the role of authority with the Sexy Police Officer Hottie Costume from www.Costume-shop.com. Designed...
View full details
Original price
$66.95
-
Original price
$66.95
Original price
$66.95
$66.95
-
$66.95
Current price
$66.95


Original price
$97.95
-
Original price
$97.95
Original price
$97.95
$97.95
-
$97.95
Current price
$97.95
Sexy Miss Claus Costume | Costume-Shop.com
Low stock
C170Sexy Miss Claus Costume Includes:Long Robe with Fur Trim Detail, Detachable Belt, & Shorts Material:Stretch Velvet Ships From:Los Angeles S...
View full details
Original price
$97.95
-
Original price
$97.95
Original price
$97.95
$97.95
-
$97.95
Current price
$97.95
Original price
$73.95
-
Original price
$73.95
Original price
$73.95
$73.95
-
$73.95
Current price
$73.95
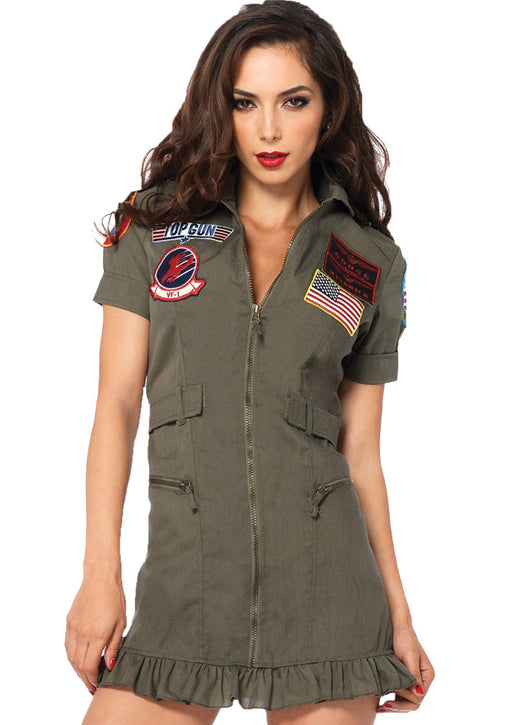
Top Gun Flight Dress | Costume-shop.com
In stock
✈️ Feel the Need for Speed! Elevate your costume game at your next party, Halloween event, or any gathering calling for a bit of high-flying action...
View full details
Original price
$73.95
-
Original price
$73.95
Original price
$73.95
$73.95
-
$73.95
Current price
$73.95
Leave a comment