How to Black Out a Tooth for Your Costume
Are you getting ready for a costume party or Halloween and want to take your outfit to the next level? One way to make your costume more realistic and attention-grabbing is by blacking out a tooth. This simple trick can add a touch of authenticity to your character and make you stand out from the crowd. In this blog post, we will guide you through the process of blacking out a tooth for your costume.
What You Will Need:
- A tooth blackout kit
- A mirror
- A toothpick or dental floss
- A small brush or cotton swab
- Warm water
Step-by-Step Instructions:
Step 1: Choose the Right Tooth Blackout Kit
The first step in blacking out a tooth for your costume is to choose the right tooth blackout kit. These kits are easily available online or at costume stores like Costume-Shop. Look for a kit that is safe to use and specifically designed for temporary tooth blackening. Make sure to read the instructions provided with the kit before you begin.
Step 2: Prepare Your Tooth
Before applying the blackening product, it's important to clean and prepare your tooth. Brush your teeth thoroughly with toothpaste and warm water to remove any food particles or debris. Rinse your mouth with warm water to ensure it's clean and ready for the application.
Step 3: Apply the Tooth Blackout Compound
Take a small amount of the tooth blackout compound from the kit and apply it to the tooth you want to black out. Use a toothpick or dental floss to carefully spread the compound evenly over the surface of the tooth. Make sure to cover the entire visible area of the tooth, including the sides and edges.
Step 4: Blend and Smooth
After applying the tooth blackout compound, use a small brush or cotton swab to blend and smooth the compound onto the tooth. This will help create a more natural appearance and ensure that the blackened tooth matches the color of your other teeth.
Step 5: Check and Adjust
Once you have blended and smoothed the tooth blackout compound, check your tooth in the mirror to see how it looks. If necessary, make any adjustments to the application to achieve the desired effect. You can add more compound or gently remove any excess if needed.
Step 6: Allow It to Dry
After you're satisfied with the appearance of your blacked-out tooth, allow the compound to dry completely. The drying time will vary depending on the specific product you are using, so refer to the instructions provided with your tooth blackout kit.
Step 7: Remove the Tooth Blackout
Once you're done with your costume and want to remove the blacked-out tooth, simply brush your teeth as you normally would. The tooth blackout compound is designed to be temporary and should come off easily with brushing.
Tips and Precautions:
- Always follow the instructions provided with your tooth blackout kit for best results and safety.
- Do not use regular paints or markers to black out your tooth as they may contain harmful chemicals or be difficult to remove.
- If you have any dental concerns or existing dental issues, consult with your dentist before using a tooth blackout kit.
- Avoid consuming food or drinks that may stain your teeth while wearing the blacked-out tooth.
- Remember that blacking out a tooth is temporary and should not cause any long-term damage when done correctly.
By following these simple steps and using a tooth blackout kit, you can easily black out a tooth for your costume and enhance the overall look of your character. Just ensure that you choose a safe and reliable product like the ones available at Costume-Shop. So, go ahead and make a lasting impression at your next costume event!
Featured collection


Original price
$27.95
-
Original price
$27.95
Original price
$27.95
$27.95
-
$27.95
Current price
$27.95
Sexy Post Office Girl | Costume-Shop.com
In stock
Attention all aspiring letter carriers and mail enthusiasts! Prepare to deliver a package of seductive style and naughty charm with our Sexy Post O...
View full details
Original price
$27.95
-
Original price
$27.95
Original price
$27.95
$27.95
-
$27.95
Current price
$27.95


Original price
$110.95
-
Original price
$110.95
Original price
$110.95
$110.95
-
$110.95
Current price
$110.95
Northern Warrior Costume | Costume-Shop.com
Low stock
Upgrade your costume game to legendary status with the Northern Warrior Costume! Designed for rugged adventurers and fearless warriors of the North...
View full details
Original price
$110.95
-
Original price
$110.95
Original price
$110.95
$110.95
-
$110.95
Current price
$110.95
Original price
$66.95
-
Original price
$66.95
Original price
$66.95
$66.95
-
$66.95
Current price
$66.95
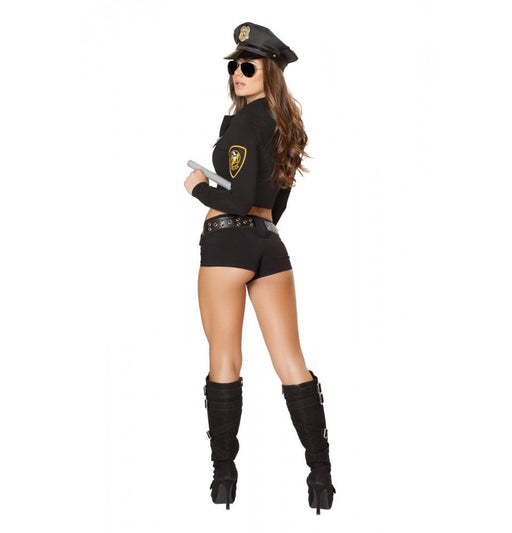
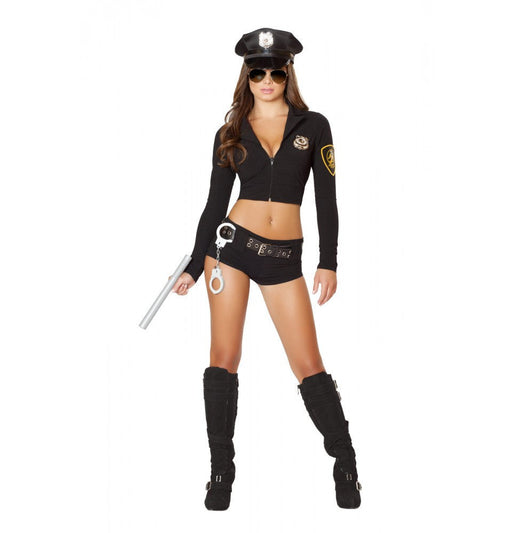
Sexy Police Officer Hottie | Costume-Shop.com
Low stock
🚓 Enforce Fun with a Dash of Flair! Step into the role of authority with the Sexy Police Officer Hottie Costume from www.Costume-shop.com. Designed...
View full details
Original price
$66.95
-
Original price
$66.95
Original price
$66.95
$66.95
-
$66.95
Current price
$66.95


Original price
$97.95
-
Original price
$97.95
Original price
$97.95
$97.95
-
$97.95
Current price
$97.95
Sexy Miss Claus Costume | Costume-Shop.com
Low stock
C170Sexy Miss Claus Costume Includes:Long Robe with Fur Trim Detail, Detachable Belt, & Shorts Material:Stretch Velvet Ships From:Los Angeles S...
View full details
Original price
$97.95
-
Original price
$97.95
Original price
$97.95
$97.95
-
$97.95
Current price
$97.95
Original price
$73.95
-
Original price
$73.95
Original price
$73.95
$73.95
-
$73.95
Current price
$73.95
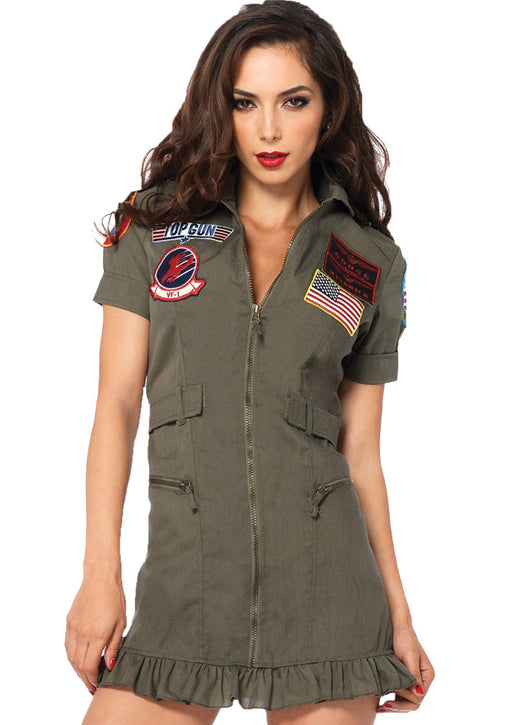
Top Gun Flight Dress | Costume-shop.com
In stock
✈️ Feel the Need for Speed! Elevate your costume game at your next party, Halloween event, or any gathering calling for a bit of high-flying action...
View full details
Original price
$73.95
-
Original price
$73.95
Original price
$73.95
$73.95
-
$73.95
Current price
$73.95
Leave a comment