DIY Guide: How to Make a Superhero Cape at Home
Introduction
Becoming a superhero doesn't always require superpowers or expensive costumes. With just a few materials and some creativity, you can easily make your very own superhero cape at home. Whether you want to dress up for a costume party or simply unleash your inner hero on a daily basis, this step-by-step guide will show you how to create an awesome cape that will make you stand out from the crowd.

Making your own superhero cape is not only fun but also allows you to customize it according to your preferences. You can choose your favorite colors, add unique designs or emblems, and truly embody the character you want to portray.
So let's dive into the world of DIY and discover how you can become the hero of your own story!
Materials You'll Need
- Fabric (preferably polyester or satin material)
- Scissors
- Measuring tape
- Velcro or buttons for fastening
- Fabric glue or sewing kit (depending on your preference)
- Iron and ironing board (optional, but recommended)
Step-by-step Instructions
Step 1: Measure and Cut the Fabric
The first step in creating your superhero cape is to measure and cut the fabric according to your desired length and width. You can use a measuring tape to determine the appropriate dimensions:
- Measure the length from your neck down to where you want the cape to end. This will vary depending on personal preference, but a good starting point is usually around mid-thigh or knee-length.
- Add a few extra inches to allow for hemming and fastening at the neck.
- Once you have determined the length, measure and mark it on the fabric.
- Next, measure and mark the width of the cape. The width should be wide enough to cover your shoulders when worn.
- Carefully cut along the marked lines using sharp scissors.
Step 2: Hemming
To give your cape a clean and finished look, it's important to hem the edges. Hemming helps prevent fraying and ensures durability:
- Fold over about half an inch of fabric along each edge of the cape.
- If you prefer using fabric glue, apply a thin line along the folded edge and press it down firmly. Allow it to dry completely.
- If you prefer sewing, use a needle and thread to sew a straight stitch along the folded edge.
- Repeat this process for all edges of the cape. Make sure your hem is consistent and even throughout.
Step 3: Fastening
To secure your superhero cape around your neck, you can choose between using Velcro or buttons:
- If using Velcro, cut two small rectangular pieces. Sew or glue one piece to each side of the neckline, ensuring they align correctly when fastened.
- If using buttons, sew them onto one side of the neckline, ensuring they align with corresponding buttonholes on the other side.
Step 4: Adding Personal Touches
This is where you get to unleash your creativity and make your cape truly unique:
- You can use fabric markers or paints to add designs, symbols, or emblems that represent your superhero persona.
- You can also use fabric appliques or iron-on patches for a more intricate design.
- Allow any paint or glue to dry completely before wearing your cape.
Tips and Tricks
- Choose a fabric color that resonates with your chosen superhero theme. If you're creating an original character, choose colors that reflect their personality or powers.
- Experiment with different lengths and cuts to find the style that suits you best.
- If you're not confident with sewing, fabric glue can be a great alternative for attaching fasteners and decorations.
- Take your time when cutting the fabric to ensure straight lines and smooth edges.
- Make sure to follow any safety instructions or precautions mentioned on the materials you use.
Show off Your Creation!
Congratulations! You've successfully completed your very own superhero cape. Now it's time to put it on, strike a pose, and save the day (or at least have some fun). Don't forget to show off your creation by taking pictures or sharing them on social media. Who knows? You might inspire others to unleash their inner hero too!
Remember, making a superhero cape is just the beginning. Let this DIY project empower you to explore further into the world of crafting and unleash your creativity in other ways. Whether you're creating costumes, accessories, or even designing your own comics, there are endless possibilities waiting for you.
In Conclusion
Making a superhero cape at home is an exciting and fulfilling project that allows you to express your creativity while embracing the superhero within. With just a few materials and some simple steps, you can create a truly unique cape that reflects your personality and brings your imagination to life.
So why wait? Grab those scissors, choose your favorite fabric, and embark on this DIY adventure. Unleash your inner hero today!
Featured collection


Original price
$27.95
-
Original price
$27.95
Original price
$27.95
$27.95
-
$27.95
Current price
$27.95
Sexy Post Office Girl | Costume-Shop.com
In stock
Attention all aspiring letter carriers and mail enthusiasts! Prepare to deliver a package of seductive style and naughty charm with our Sexy Post O...
View full details
Original price
$27.95
-
Original price
$27.95
Original price
$27.95
$27.95
-
$27.95
Current price
$27.95


Original price
$110.95
-
Original price
$110.95
Original price
$110.95
$110.95
-
$110.95
Current price
$110.95
Northern Warrior Costume | Costume-Shop.com
Low stock
Upgrade your costume game to legendary status with the Northern Warrior Costume! Designed for rugged adventurers and fearless warriors of the North...
View full details
Original price
$110.95
-
Original price
$110.95
Original price
$110.95
$110.95
-
$110.95
Current price
$110.95
Original price
$66.95
-
Original price
$66.95
Original price
$66.95
$66.95
-
$66.95
Current price
$66.95
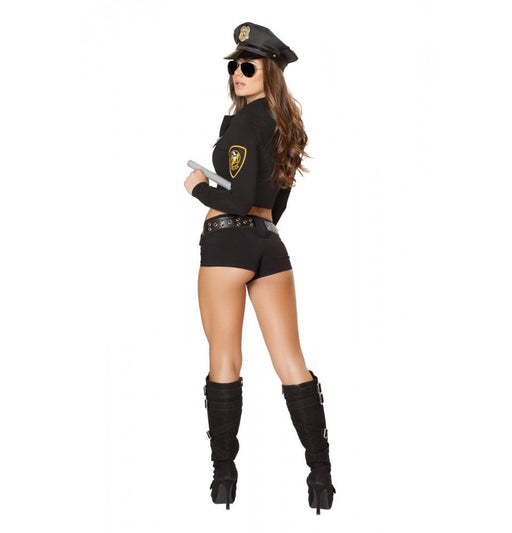
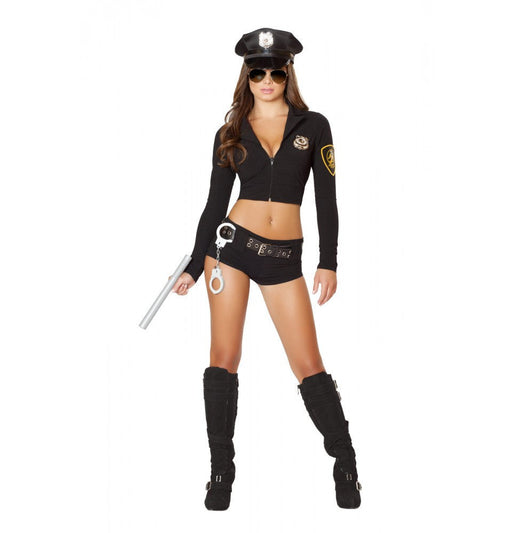
Sexy Police Officer Hottie | Costume-Shop.com
Low stock
🚓 Enforce Fun with a Dash of Flair! Step into the role of authority with the Sexy Police Officer Hottie Costume from www.Costume-shop.com. Designed...
View full details
Original price
$66.95
-
Original price
$66.95
Original price
$66.95
$66.95
-
$66.95
Current price
$66.95


Original price
$97.95
-
Original price
$97.95
Original price
$97.95
$97.95
-
$97.95
Current price
$97.95
Sexy Miss Claus Costume | Costume-Shop.com
Low stock
C170Sexy Miss Claus Costume Includes:Long Robe with Fur Trim Detail, Detachable Belt, & Shorts Material:Stretch Velvet Ships From:Los Angeles S...
View full details
Original price
$97.95
-
Original price
$97.95
Original price
$97.95
$97.95
-
$97.95
Current price
$97.95
Original price
$73.95
-
Original price
$73.95
Original price
$73.95
$73.95
-
$73.95
Current price
$73.95
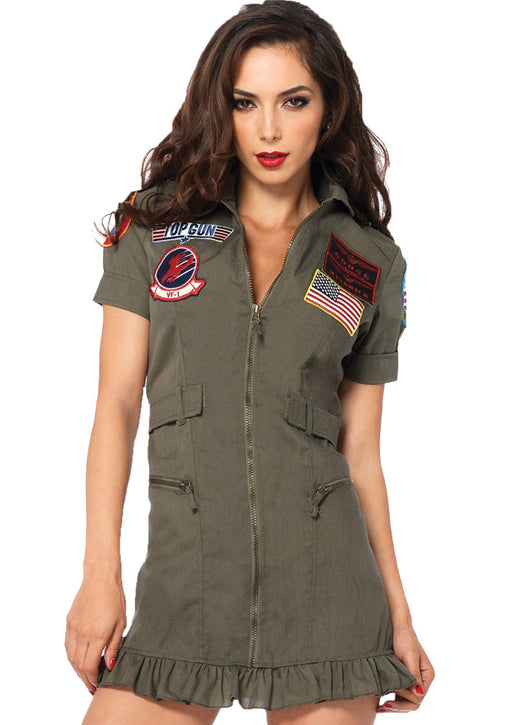
Top Gun Flight Dress | Costume-shop.com
In stock
✈️ Feel the Need for Speed! Elevate your costume game at your next party, Halloween event, or any gathering calling for a bit of high-flying action...
View full details
Original price
$73.95
-
Original price
$73.95
Original price
$73.95
$73.95
-
$73.95
Current price
$73.95
Leave a comment