DIY Guide for Making a Medusa Costume
Halloween is just around the corner, and it's time to start thinking about your costume. If you're tired of the same old store-bought costumes and want to stand out from the crowd, why not try making your own? This DIY guide will walk you through the steps of creating a stunning Medusa costume that will be sure to impress.
Step 1: Gather Your Materials
The first step in creating your Medusa costume is gathering all the necessary materials. Here's what you'll need:
- A green dress or robe
- A wig with long, flowing hair (preferably in shades of green)
- A plastic snake headband or rubber snakes
- Glass beads or sequins in various colors
- A hot glue gun
- Scissors
- Makeup: green face paint, eyeshadow in shades of green and gold, black eyeliner, and false eyelashes
Step 2: Create the Snake Headpiece
The snake headpiece is a crucial part of any Medusa costume. To create this, start by wrapping the plastic snake headband around your head or attaching the rubber snakes to a plain headband using hot glue. Make sure they are secure before moving on.
Next, take glass beads or sequins in various colors and hot glue them onto each snake's eyes to create a dazzling effect. You can also add additional beads or sequins along the length of the snakes to enhance their appearance.
Step 3: Style the Wig
A Medusa costume wouldn't be complete without her iconic snake-like hair. If you couldn't find a wig with green hair, don't worry - you can easily spray paint a regular wig with fabric spray paint to achieve the desired color.
Once you have your green wig ready, it's time to style it. Separate the hair into several sections and start curling them using a curling iron or hot rollers. Once curled, use your fingers to separate and tease the curls, giving them a more wild and untamed look.
Step 4: Dress Up in Green
Now that your headpiece and wig are ready, it's time to dress up in all things green. Choose a flowing green dress or robe that gives off an ethereal vibe, resembling Medusa's mythical origins.
For added drama, consider adding layers of tulle or chiffon to your dress, creating a flowing effect reminiscent of snake scales. This will give your costume an extra wow factor and make you truly stand out from the crowd.
Step 5: Apply Your Makeup
The final step in completing your Medusa transformation is applying your makeup. Start by covering your face with green face paint, making sure to blend it evenly for a seamless finish.
Next, apply shades of green and gold eyeshadow on your eyelids, blending them together for an enchanting look. Use black eyeliner to create dramatic cat-eye wings and draw scales on one side of your face using small, overlapping lines.
To enhance your eyes, apply false eyelashes for a more fluttery and captivating appearance. Finally, add finishing touches like green lipstick or gloss to complete your Medusa-inspired makeup look.
Step 6: Rock Your Medusa Costume
With everything in place, it's time to rock your Medusa costume! Complete the look by adding some accessories like snake bracelets or a snake ring to channel her reptilian charm further.
Remember, the key to embodying Medusa is to embrace her fierce and mythical nature. Strut with confidence and let your inner enchantress shine through. With this DIY guide, you'll have a one-of-a-kind Medusa costume that will leave everyone spellbound at any Halloween party or event!
Halloween only comes once a year, so why settle for a generic store-bought costume when you can create something truly unique? Use this DIY guide for making a Medusa costume as inspiration and let your creativity run wild. Have fun crafting your own mythical masterpiece and enjoy the attention you'll receive when wearing it!
Featured collection


Original price
$27.95
-
Original price
$27.95
Original price
$27.95
$27.95
-
$27.95
Current price
$27.95
Sexy Post Office Girl | Costume-Shop.com
In stock
Attention all aspiring letter carriers and mail enthusiasts! Prepare to deliver a package of seductive style and naughty charm with our Sexy Post O...
View full details
Original price
$27.95
-
Original price
$27.95
Original price
$27.95
$27.95
-
$27.95
Current price
$27.95


Original price
$110.95
-
Original price
$110.95
Original price
$110.95
$110.95
-
$110.95
Current price
$110.95
Northern Warrior Costume | Costume-Shop.com
Low stock
Upgrade your costume game to legendary status with the Northern Warrior Costume! Designed for rugged adventurers and fearless warriors of the North...
View full details
Original price
$110.95
-
Original price
$110.95
Original price
$110.95
$110.95
-
$110.95
Current price
$110.95
Original price
$66.95
-
Original price
$66.95
Original price
$66.95
$66.95
-
$66.95
Current price
$66.95
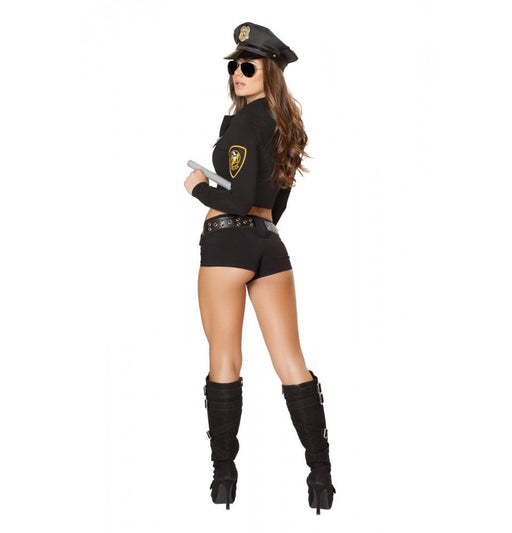
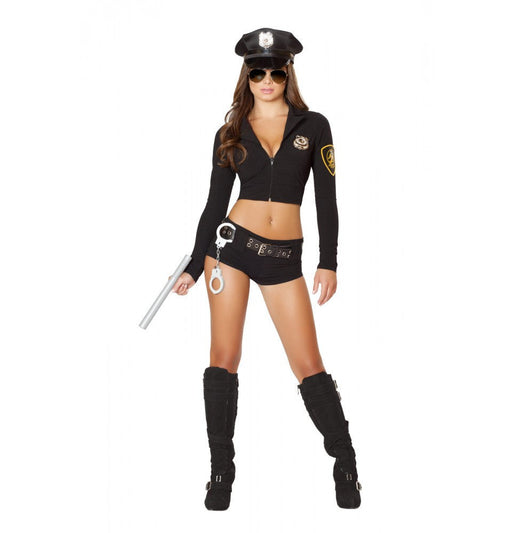
Sexy Police Officer Hottie | Costume-Shop.com
Low stock
🚓 Enforce Fun with a Dash of Flair! Step into the role of authority with the Sexy Police Officer Hottie Costume from www.Costume-shop.com. Designed...
View full details
Original price
$66.95
-
Original price
$66.95
Original price
$66.95
$66.95
-
$66.95
Current price
$66.95


Original price
$97.95
-
Original price
$97.95
Original price
$97.95
$97.95
-
$97.95
Current price
$97.95
Sexy Miss Claus Costume | Costume-Shop.com
Low stock
C170Sexy Miss Claus Costume Includes:Long Robe with Fur Trim Detail, Detachable Belt, & Shorts Material:Stretch Velvet Ships From:Los Angeles S...
View full details
Original price
$97.95
-
Original price
$97.95
Original price
$97.95
$97.95
-
$97.95
Current price
$97.95
Original price
$73.95
-
Original price
$73.95
Original price
$73.95
$73.95
-
$73.95
Current price
$73.95
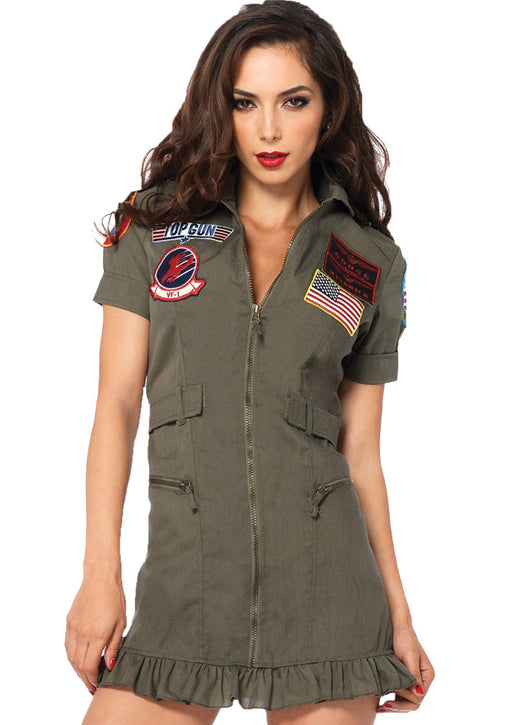
Top Gun Flight Dress | Costume-shop.com
In stock
✈️ Feel the Need for Speed! Elevate your costume game at your next party, Halloween event, or any gathering calling for a bit of high-flying action...
View full details
Original price
$73.95
-
Original price
$73.95
Original price
$73.95
$73.95
-
$73.95
Current price
$73.95
Leave a comment