Creating a Homemade Superhero Cape: Unleash Your Creativity

Becoming a superhero is a dream that many children and even adults have. The ability to fly through the sky, save lives, and fight evil is something that captures our imagination. While we may not be able to grant you the power of flight or super strength, we can help you create your very own superhero cape! In this blog post, we will guide you through the process of creating a homemade superhero cape that will make you feel like a true hero.
Gather Your Materials
The first step in creating your homemade superhero cape is gathering all the necessary materials. Here's what you'll need:
- Fabric (preferably satin or polyester)
- Scissors
- Measuring tape
- Pins
- Sewing machine or needle and thread
- Variety of craft supplies for decorating (optional)
Measure and Cut the Fabric
Now that you have all your materials ready, it's time to measure and cut the fabric for your superhero cape. Start by measuring the length from your shoulders to the desired length of your cape. This will determine how long the cape should be.
Next, measure the width of your shoulders. This will determine how wide the top part of the cape should be. Add a few extra inches on each side for seam allowance.
Once you have your measurements, lay out the fabric on a flat surface. Use a ruler or measuring tape to mark out the dimensions of your cape. Then, use scissors to carefully cut along these markings.
Sew or Glue the Cape
If you have basic sewing skills, using a sewing machine or needle and thread is recommended for a more durable cape. If not, you can also use fabric glue or iron-on adhesive tape as an alternative.
If using a sewing machine, fold over about half an inch of fabric along each edge and pin it in place. Then sew along these edges to create a clean hemline.
If using fabric glue or adhesive tape, follow the instructions provided with the product. Apply it along each edge of the fabric and press firmly to secure.
Add Your Personal Touch
Now that you have created your superhero cape, it's time to make it truly unique! Use various craft supplies such as sequins, glitter, fabric paint, or iron-on patches to decorate your cape and bring it to life.
You can choose symbols or initials that represent your superhero persona or simply get creative with vibrant colors and patterns. Let your imagination run wild as you unleash your inner hero!
Show Off Your Creation
Once you have finished decorating your homemade superhero cape, put it on and strike a pose! Take some pictures to capture this special moment and share them with your friends and family. You can also wear your cape to costume parties, conventions, or just whenever you need an extra boost of confidence and empowerment.
Remember, the superhero cape you have created is a reflection of your own creativity and imagination. It's a symbol of what makes you unique and special. So wear it with pride and embrace the hero within!
In Conclusion
Crafting a homemade superhero cape is not only a fun activity but also a way to unleash your creativity and imagination. By following these steps, you can create a cape that reflects your unique style and personality. Whether you want to become a caped crusader, a defender of justice, or simply channel your inner hero, creating a homemade superhero cape is a fantastic way to make that dream come true.
So go ahead, gather your materials, measure and cut the fabric, sew or glue it together, add your personal touch, and show off your creation! The world is waiting for its newest superhero.
Featured collection


Original price
$27.95
-
Original price
$27.95
Original price
$27.95
$27.95
-
$27.95
Current price
$27.95
Sexy Post Office Girl | Costume-Shop.com
In stock
Attention all aspiring letter carriers and mail enthusiasts! Prepare to deliver a package of seductive style and naughty charm with our Sexy Post O...
View full details
Original price
$27.95
-
Original price
$27.95
Original price
$27.95
$27.95
-
$27.95
Current price
$27.95


Original price
$110.95
-
Original price
$110.95
Original price
$110.95
$110.95
-
$110.95
Current price
$110.95
Northern Warrior Costume | Costume-Shop.com
Low stock
Upgrade your costume game to legendary status with the Northern Warrior Costume! Designed for rugged adventurers and fearless warriors of the North...
View full details
Original price
$110.95
-
Original price
$110.95
Original price
$110.95
$110.95
-
$110.95
Current price
$110.95
Original price
$66.95
-
Original price
$66.95
Original price
$66.95
$66.95
-
$66.95
Current price
$66.95
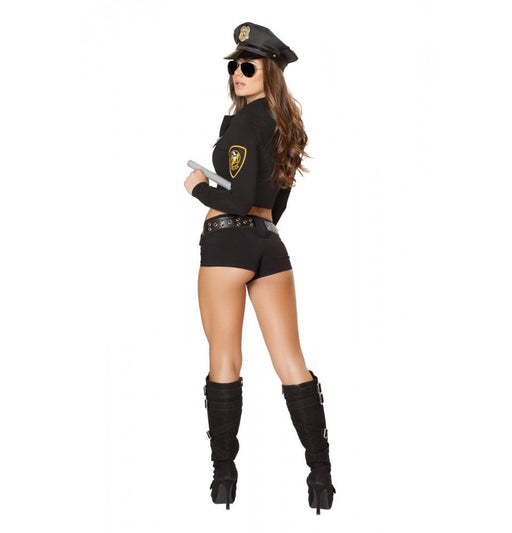
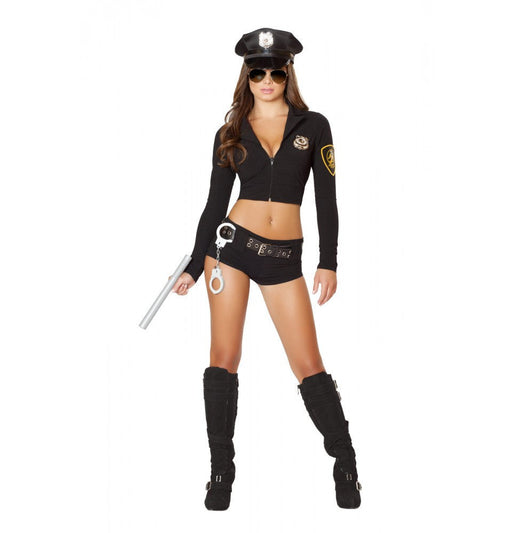
Sexy Police Officer Hottie | Costume-Shop.com
Low stock
🚓 Enforce Fun with a Dash of Flair! Step into the role of authority with the Sexy Police Officer Hottie Costume from www.Costume-shop.com. Designed...
View full details
Original price
$66.95
-
Original price
$66.95
Original price
$66.95
$66.95
-
$66.95
Current price
$66.95


Original price
$97.95
-
Original price
$97.95
Original price
$97.95
$97.95
-
$97.95
Current price
$97.95
Sexy Miss Claus Costume | Costume-Shop.com
Low stock
C170Sexy Miss Claus Costume Includes:Long Robe with Fur Trim Detail, Detachable Belt, & Shorts Material:Stretch Velvet Ships From:Los Angeles S...
View full details
Original price
$97.95
-
Original price
$97.95
Original price
$97.95
$97.95
-
$97.95
Current price
$97.95
Original price
$73.95
-
Original price
$73.95
Original price
$73.95
$73.95
-
$73.95
Current price
$73.95
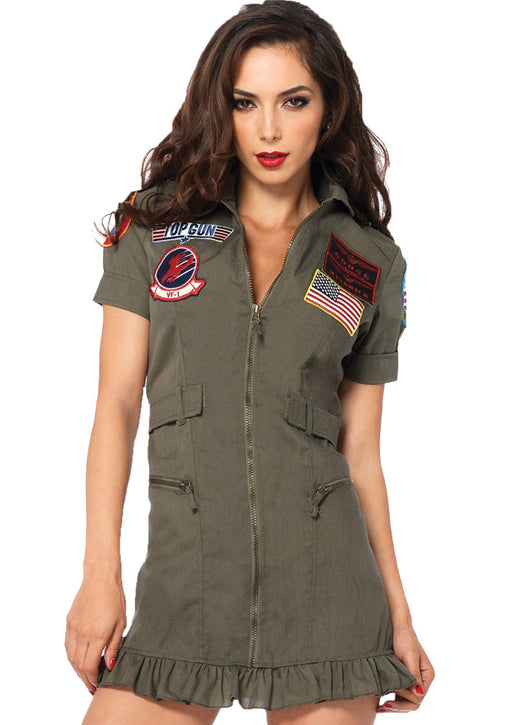
Top Gun Flight Dress | Costume-shop.com
In stock
✈️ Feel the Need for Speed! Elevate your costume game at your next party, Halloween event, or any gathering calling for a bit of high-flying action...
View full details
Original price
$73.95
-
Original price
$73.95
Original price
$73.95
$73.95
-
$73.95
Current price
$73.95
Leave a comment